Recipe Breakdown
Ingredients:
(Clicking these links will take you to their Amazon page where I may make a commission)
4 – cups leveled Amazon brand bread flour
2 – 4 T Brown Rice Flour
2 1/2 – T Fleischmann’s Instant Dry Yeast
1 – tsp salt
1 – tsp granulated sugar
1 – 8 oz bar cheese of your choice, hand shredded. I like to do Mild Cheddar or Monterey Jack.
3 to 4 (or however much you want, really) Everything but the Bagel Seasoning
Equipment:
6 quart (medium sized) Dutch Oven
Parchment Paper (I use 15 inch wide paper for this)
Instructions:
Put the 4 cups of Amazon brand bread flour into a large mixing bowl. Add the yeast to one side, the salt to the other side.Why? The salt will kill the yeast if the conditions are right. With a whisk, combine first the flour with the yeast on one side, then the side with the salt. Once the two have been whisked with flour, it’s safe to whisk all 3 together. I’d add more salt to the recipe, by the way, but the Everything but the Bagel seasoning also has salt. We don’t want to be TOO salty. Once it’s well mixed, add your shredded cheese. It’s important to note the “hand shredded” detail, because it just melts SO much nicer than store bought shredded. Once the cheese is somewhat evenly combined with the mixture, it’s time to add the Everything but the Bagel seasoning. I don’t think it really depends on the brand. I’ve used one from Trader Joe’s and I’ve used one from Aldi, and they turned out just about identical.
When you’re ready to add the Everything seasoning, start slow. I did 2 T, stirred it in, gave it a look, did another T, etc. I believe for this loaf I ended up using about 4 T. It’s a fairly large loaf!!
Once that’s all combined, you’ll want some room temperature water. Never too hot or too cold!! And at this point, it’s more eyeballing. I brought 4 cups to room temp, and added a little at a time until my dough was pliable, but super moist. I feel like it ended up being around 3 cups, but again, this will need some of your judgement as well. You don’t want it to look too soupy or be too hard to work with. Cover your bowl with a wet dish towel or tea towel (my mom’s side of the family is British, so tea towels are a staple in my house <3 ), and let it sit for at least 6 hours. I prefer to let it sit overnight to get all the rise it can, but in a pinch, 6 hours will do.
Lay out some parchment paper, and sprinkle some Brown Rice Flour on the paper. Try to spread it out as best you can, but know that no one is ever going to get it perfectly even lol. Have a silicone spatula ready, and slowly turn out the dough onto the parchment paper, using the spatula to guide the dough towards the middle of the paper.
Now here’s the best part (at least I think so). Carefully grab opposite corners of the parchment paper and lift it up carefully so you don’t lose your dough. It’ll be fairly heavy. “Drop” your dough into the Dutch oven. Put the lid on, and set your oven to 450 degrees. It’s best if the dough and Dutch oven warm up with the actual oven. I don’t know why, I don’t make the rules, it just turns out lovely and crusty that way at my house lol. With the ingredients warming in the oven, wait until it’s gotten up to 450 degrees, THEN set a timer for 30 minutes. Leave the lid on for this first 30 minute segment. Once your first 30 minute timer goes off, remove the lid and stick it back in the oven for another 30. Once that’s over with, you can decide if you like the final result of how browned it is, or if you’d like it more well baked. At this point in the recipe I usually either call it or give it 7 or so more minutes with the lid off. Just depends on my mood, I guess!!
Now, when your loaf is safely out of the oven, wait about 10 minutes for the Dutch oven to cool, then remove the loaf from the pot. DO NOT cut into it for at least a few hours!!! I like to wait overnight, but sometimes I just can’t help myself. The reason for this is the bread is continuing to bake as it’s sitting on your counter. Cutting into it early can cause it to be too spongy or dense.
Now it can be toasted, browned a bit in a pan with some butter, made into a sandwich, or whatever your little heart desires!! If you have any questions, let me know.
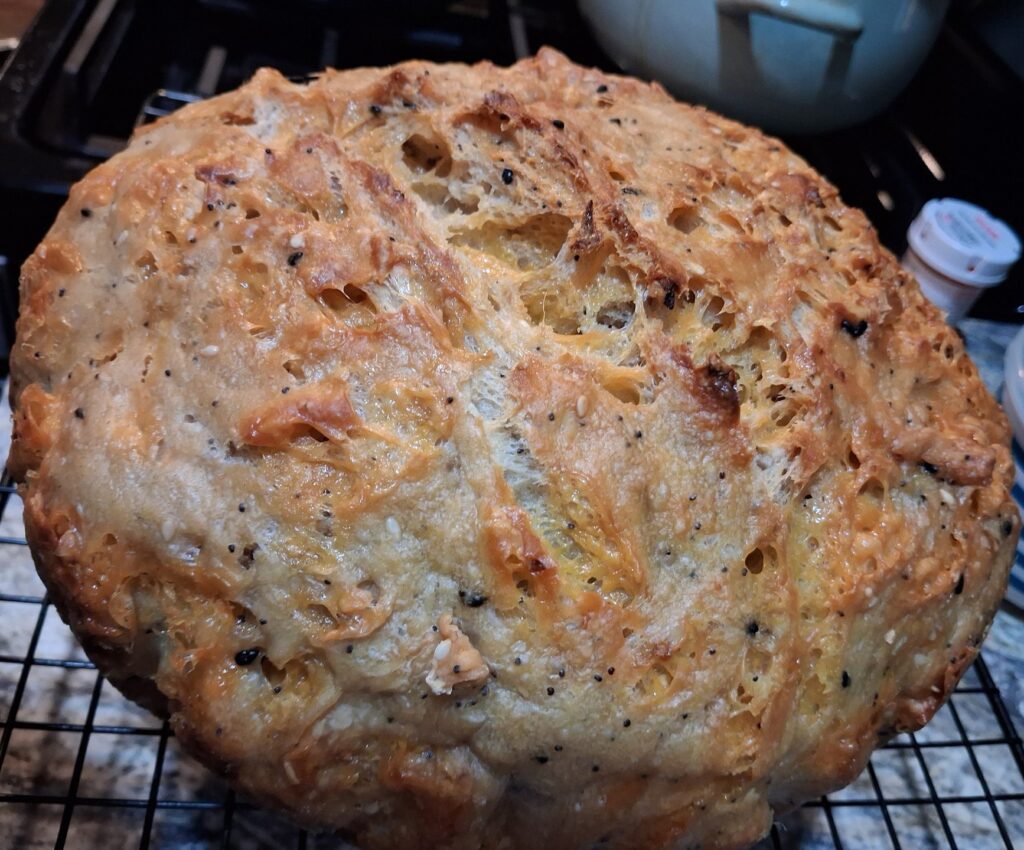

Cheesy “Everything But The Bagel” Artisan Bread
Equipment
- 1 6 quart Dutch Oven
- 1 15 inch wide Parchment Paper
Ingredients
- 4 Cups Bread Flour
- 2-4 tbsp Brown Rice Flour
- 2 ½ tbsp Fleischmann's Instant Dry Yeast
- 1 tsp Salt
- 1 tsp Granulated Sugar
- 8 oz Bar cheese of your choice, hand shredded.
- 3-4 Tb Everything but the Bagel Seasoning
Instructions
- Put the 4 cups of Amazon brand bread flour into a large mixing bowl. Add the yeast to one side, the salt to the other side.
- With a whisk, combine first the flour with the yeast on one side, then the side with the salt. Once the two have been whisked with flour, it's safe to whisk all 3 together.
- Once it's well mixed, add your shredded cheese.
- Once the cheese is somewhat evenly combined with the mixture, it's time to add the Everything but the Bagel seasoning.
- When all ingredients are combined, get about 3 cups of room temperature water. Slowly fold it into the dough mixture, making sure there are no dry areas. Cover your bowl with a wet dish towel or tea towel, and let it sit for at least 6 hours.
- Lay out your parchment paper a little larger than your Dutch oven and sprinkle it with brown rice flour. With a silicone spatula, slowly turn out the dough onto the parchment paper, using the spatula to guide the dough towards the middle of the floured area.
- Carefully grab opposite corners of the paper and lift it into the Dutch oven. With the lid on, place it in the stove and set it to 450 degrees.
- When your oven reaches 450 degrees, THEN set your timer for 30 minutes. Leave the lid on for this first segment. After the first 30 minutes are over, remove the lid and allow it to bake an additional 30 minutes. After the 2nd 30 minutes is up, test it to make sure it's done.
- Once it's done baking, wait 10 minutes before removing your loaf from your Dutch oven. Put it on a cooling rack, and leave her alone for at least 6 hours.
- Now, you can toast it, fry it, or make it into a sandwich!